source of image
Metal arts have seen a comeback over the past few years in many different mediums, from aesthetic metal embossing to chrome paintings.
Below is a comprehensive list of easy, of accessible metal crafts to try that won’t break the bank and are easy to recreate.
Why have metal crafts been the it-girl craft this year?
If you’ve been on your FYP on TikTok recently, you probably have come across an extensive amount of creators trying their hand at metal crafts.
But why has this suddenly become trendy, you might ask?
Some TikToks have claimed that metal crafts only become popular during a period of economic depression, as they’re relatively cheap to make. One of the biggest reasons they’re the it-girl crafts this year is because they look expensive and are a contrast to the recent minimalism of the previous years of beige decor and grey accents.
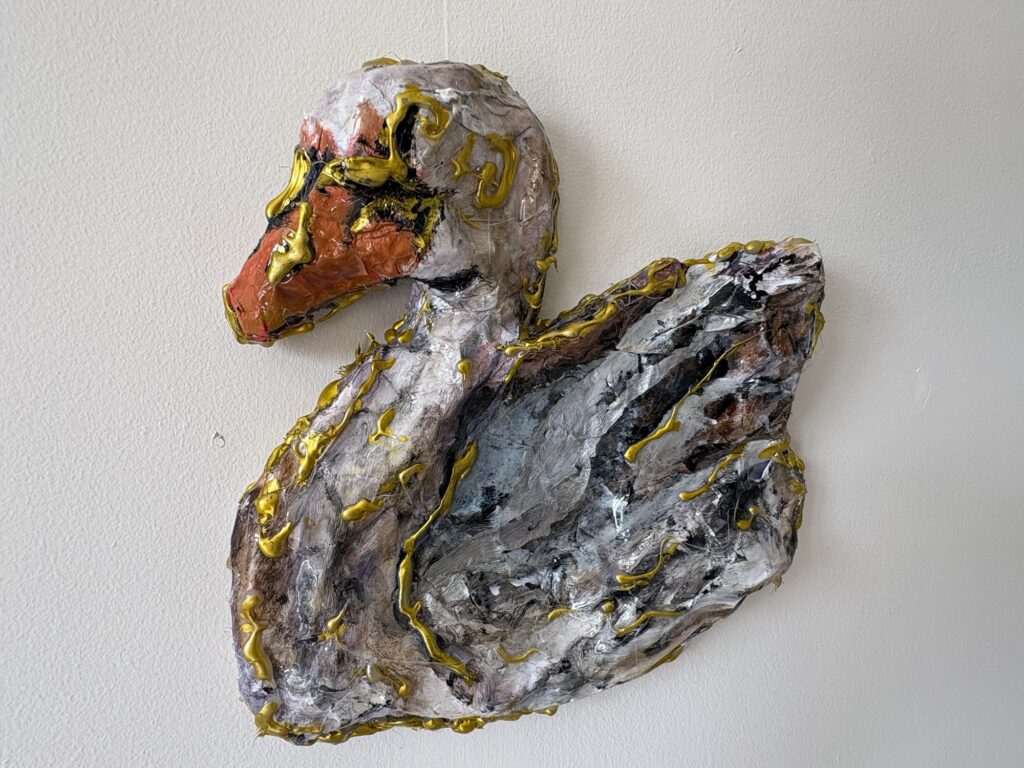
Embossing with hot glue
One of my favourite ways to elevate an art piece is to add texture. Texture emphasizes the main part of an art piece. For example, in this swan that’s made out of papier-mâché, using hot glue I outlined the piece. can also add hot glue to create other adornments, such as a frame for your painting on canvas.
To create relief embellishments on an art piece, simply plug in your hot glue gun.
Keep adding lines or swirls of hot glue until you reach a place where it’s covered. Then, take off any strings of hot glue that you find on your piece, the circumference of your art piece. To make it pop, add a layer of silver paint markers, and there you have the perfect art to elevate your art piece. It’s really that simple.
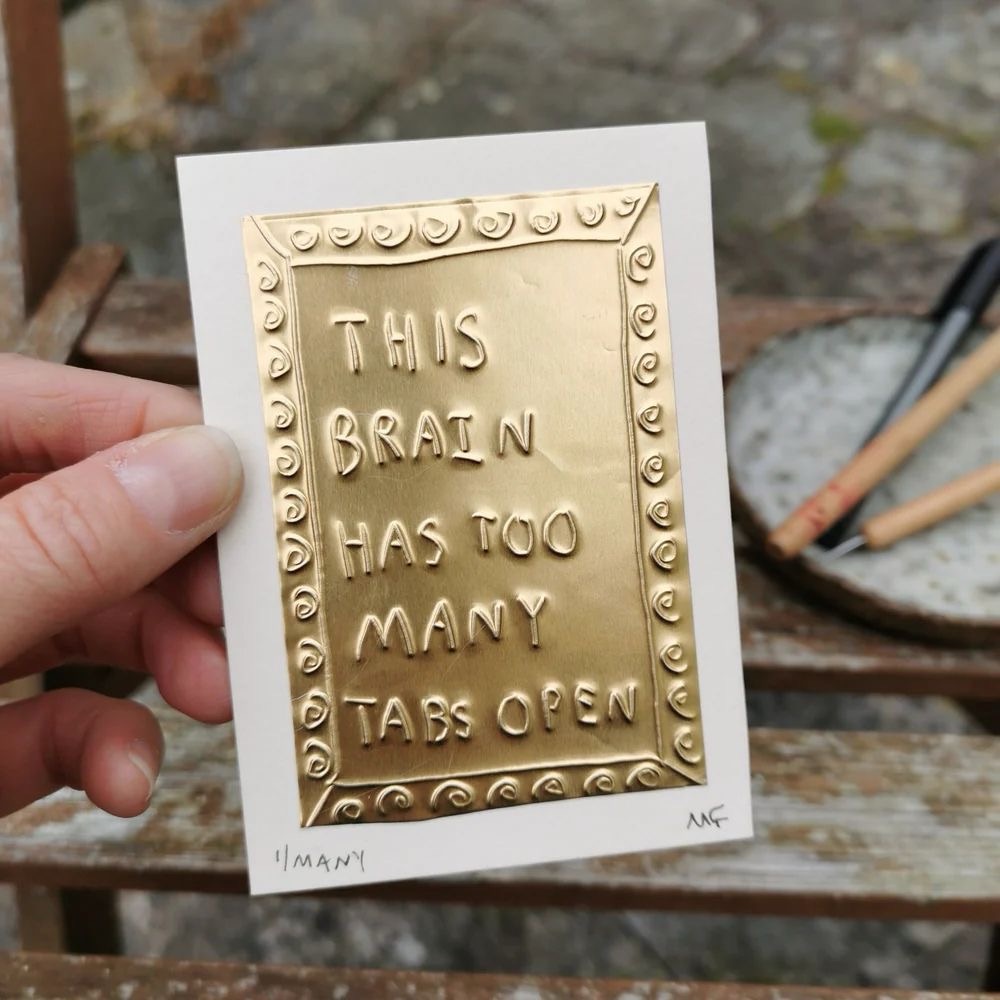
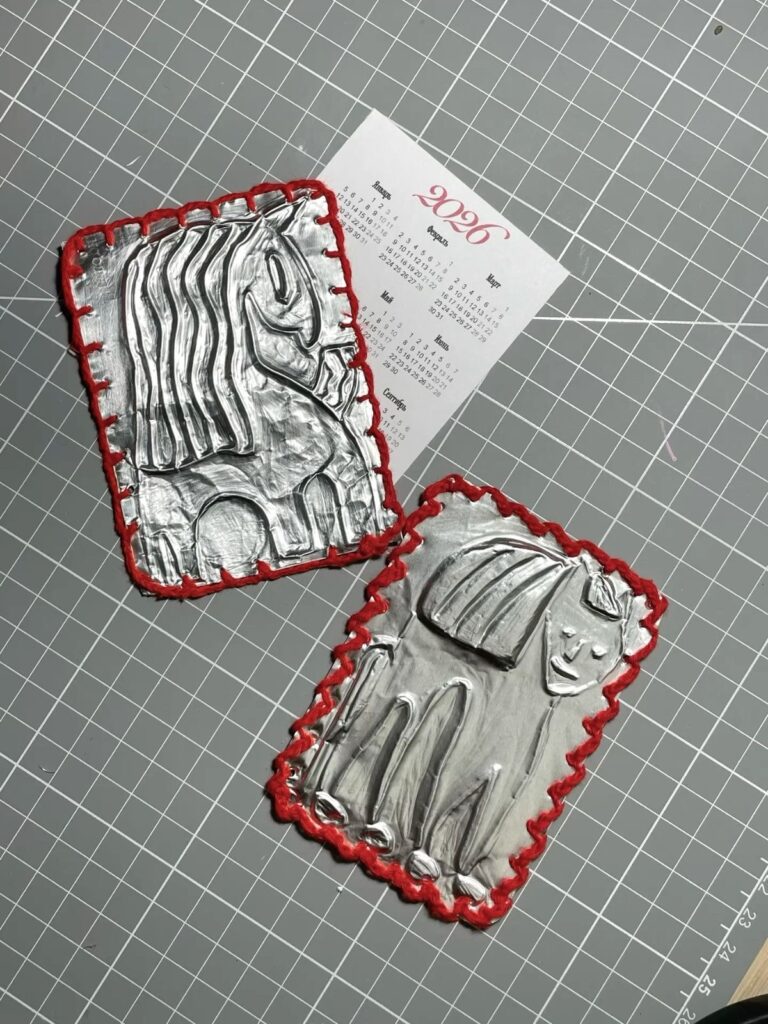
Hand-drawn embossed art cards.
This design is so iconic. I mean, just look at it. The concept of this design is to use a technique called metal repousse to create relief art. The concept of metal-repousse, was used as early as ancient Egypt or even the time of the Roman Empire to create religious art.
The technique involves reusing a design from the back, tracing a design on the back of the metal. To create this design in particular, begin by using an embossed tool or pencil to outline your text.
For this design, start by working on the front piece, so the text will be the same when you turn it around. Once you’ve outlined your text, begin by flipping it over to the other side and then trace the outline of the text to give it that relief effect. This will look 3D and add dimension to the piece. Use grout compound or modeling paste to ensure the relief work looks raised. Once dried, add double-sided tape and white card, and there you have it, a lovely, wholesome gift for someone.
source of image
Metallic embossed birthday card
This design is so 2026 coded. All you need to create this embossed design is an embossed tool, a pencil, and foil that is preferably at least 22 gauge.
Begin by working on the back of the design. Draw a square shape that is slightly curved. Add candles and little designs such as bows and flowers. To cut your design, use an exacto knife on a smooth surface, aka a craft mat. Add grout compound to the back and allow it to dry for 24 hours before using double-sided tape to stick this design onto the card. And there you have it, a unique birthday card idea for your best friend or a significant other.
source of image
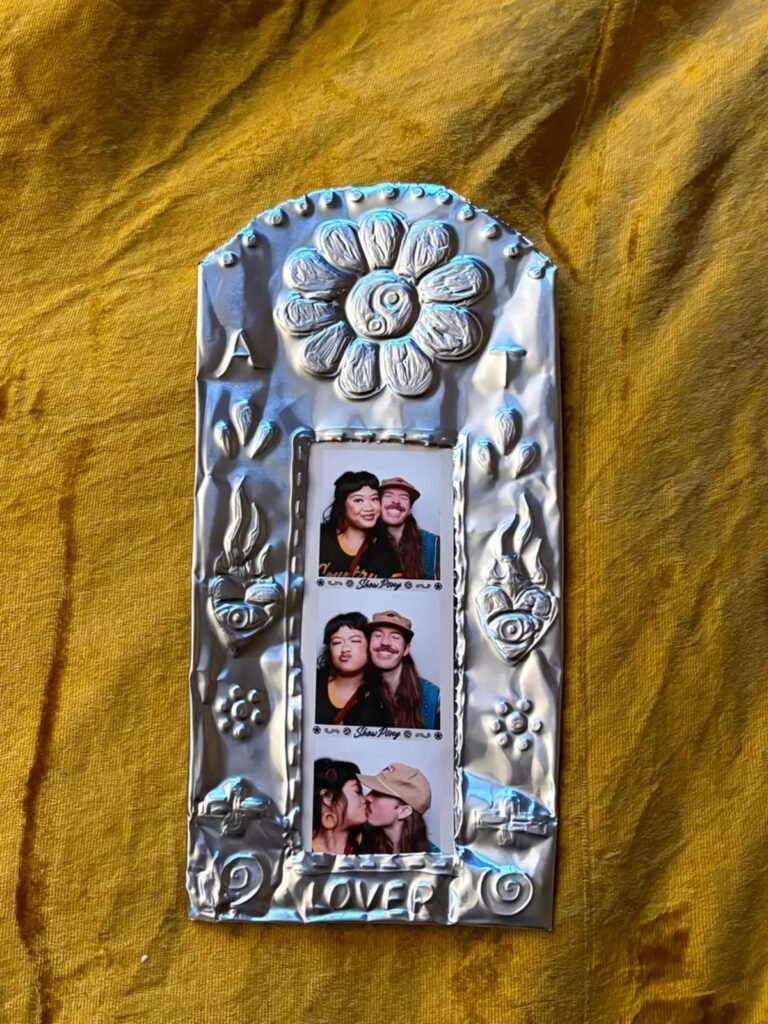
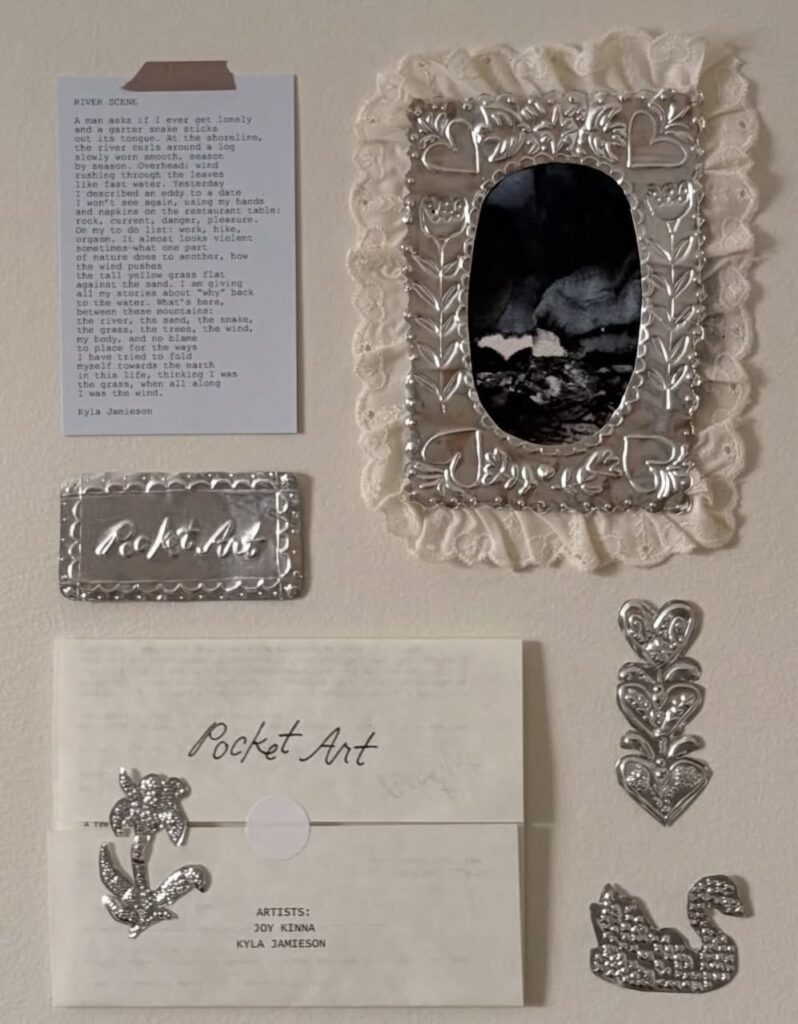
Embossed lace photo frame
If you’ve been scrolling on TikTok recently, you’ve probably come across art accounts creating embossed frames with soda cans. Begin by tracing the circumference of your photo with the foil by pressing gently and tracing.
Once you have your photo outlined, it is time for the fun part: turning your design over and adding the sketches. At the corner of the photo, draw four heart shapes and two long lines at each side of the photo to create a tulip flower. Add two shapes until you reach close to the top.
Add a rounded heart shape for the flower, fill in any gaps, and there you have the perfect design. Using a hot glue gun, add lace trim to the back of the design. Make sure it’s large enough to create a border, and there you have it, the perfect photo frame for your favorite photos.
source of image
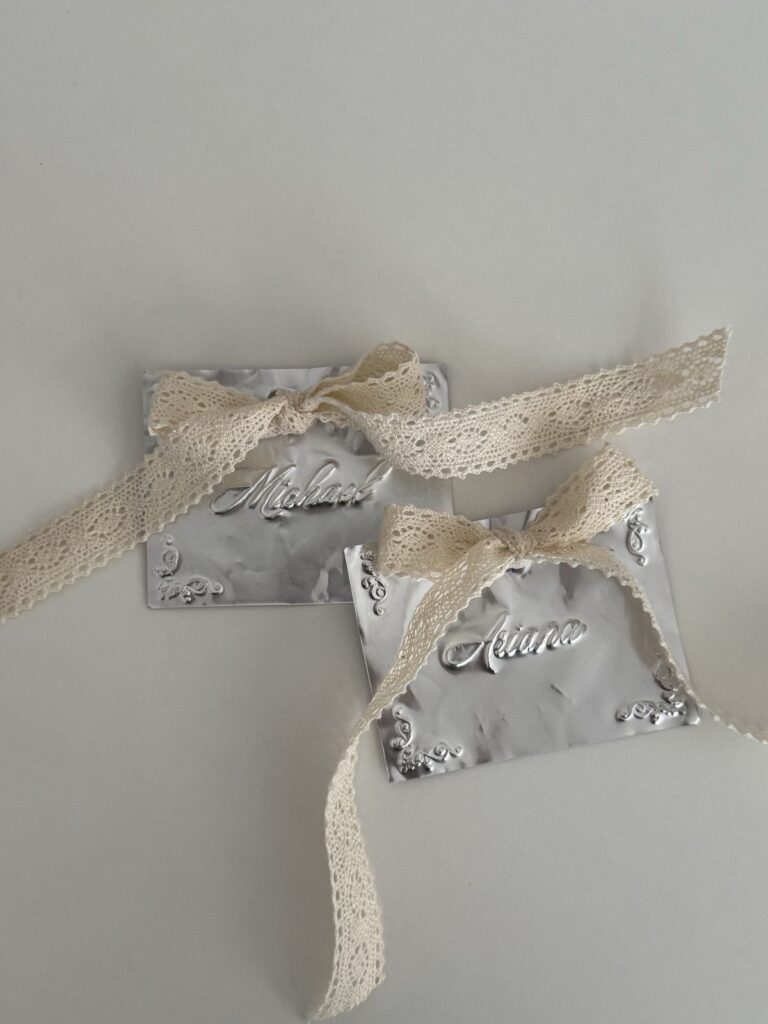
Calligraphy name tags with a twist
This design is too cute and perfect for a place names when setting the table for an important event. Begin by tracing your name on the front of the metal foil, then turn it around and follow the same lines you created with the embossing tool. The finished result should look like a 3D text of your chosen name. Using a pin, poke holes for the bow in the centre, and there you have the cutest name placement design for any dinner party or special occasion. This will definitely impress your guests.
source of image
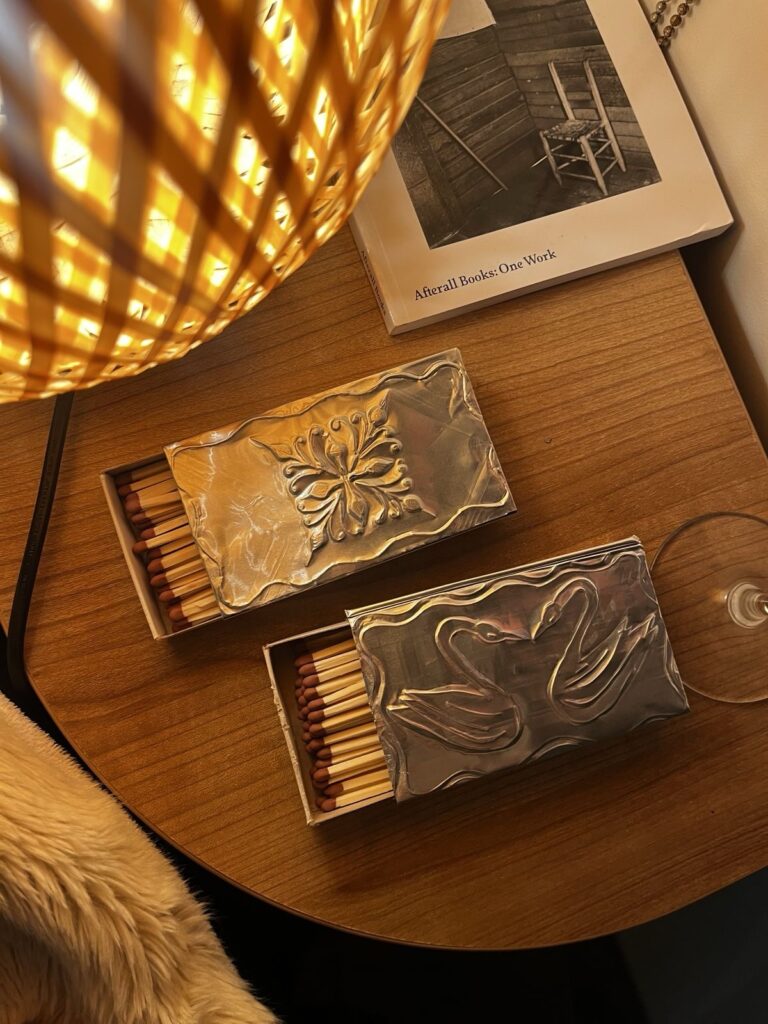
Embossed matchboxes
The possibilities are endless with matchbox embossing. One of my favourite ways to spice up the look of a boring matchbox is to add embellished details. All you need to create this is a matchbox foil, double sided tape, and an embossing tool or pen.
Begin by drawing your design onto the back. Turn the foil over and work from the back to raise the areas that should stand out. Flip it back and perfect the details from the front. To attach the matchbox, a good trick is to cut the metal slightly larger than the matchbox sleeve. Apply the double sided tape and press down, pull slightly, and spread the design around the matchbox.
source of image
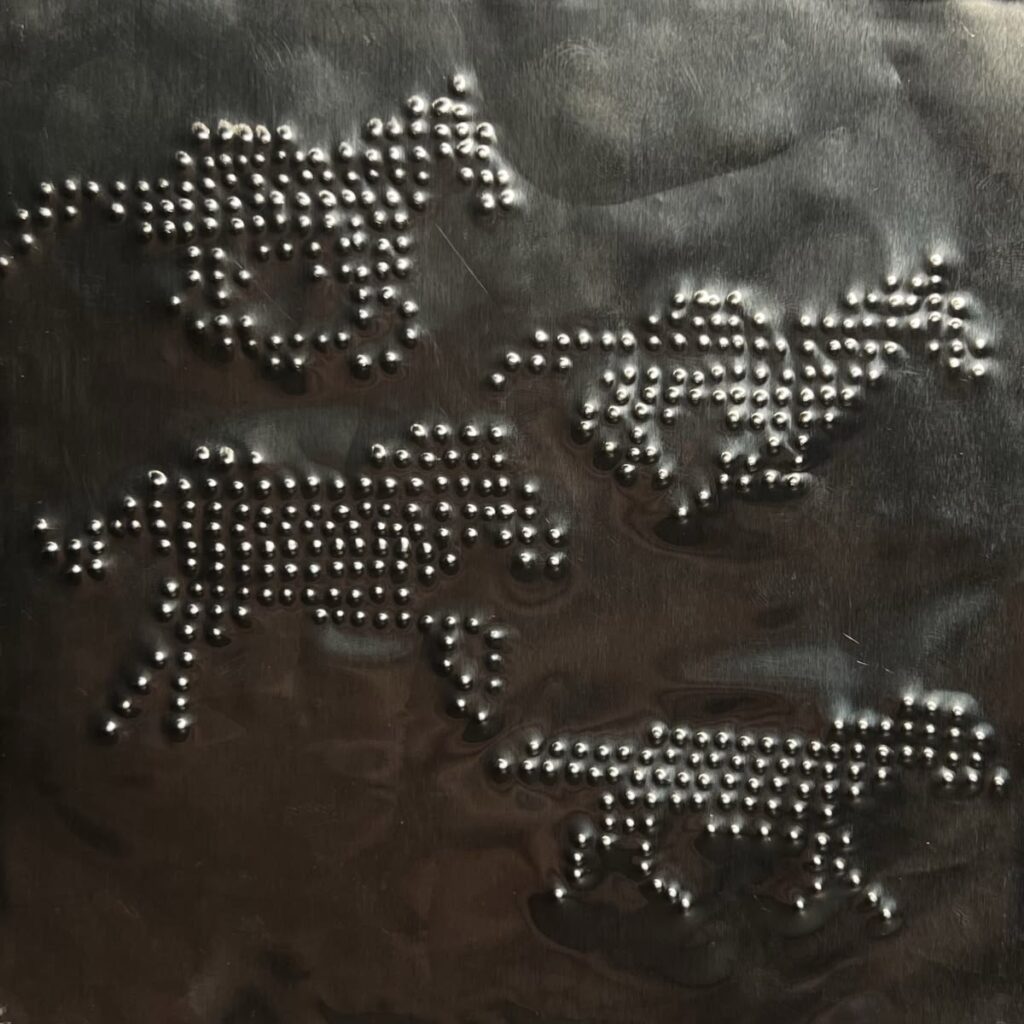
Horse-textured design
As it is the year of the horse, it’s only fair to add a design inspired by this glorious creature. After all, horses are the best. To create this design, the same principles apply to other designs. Begin by tracing your reference image on the back.
Turn it to the front and trace around. To raise the horse more, as this is add dotted shape to the design, instead of using lines, be careful not to push hard when using the embossing tool, as you might cause a hole in the design, and nobody wants a hole in their embossing foil because it destroys the design.
source of image
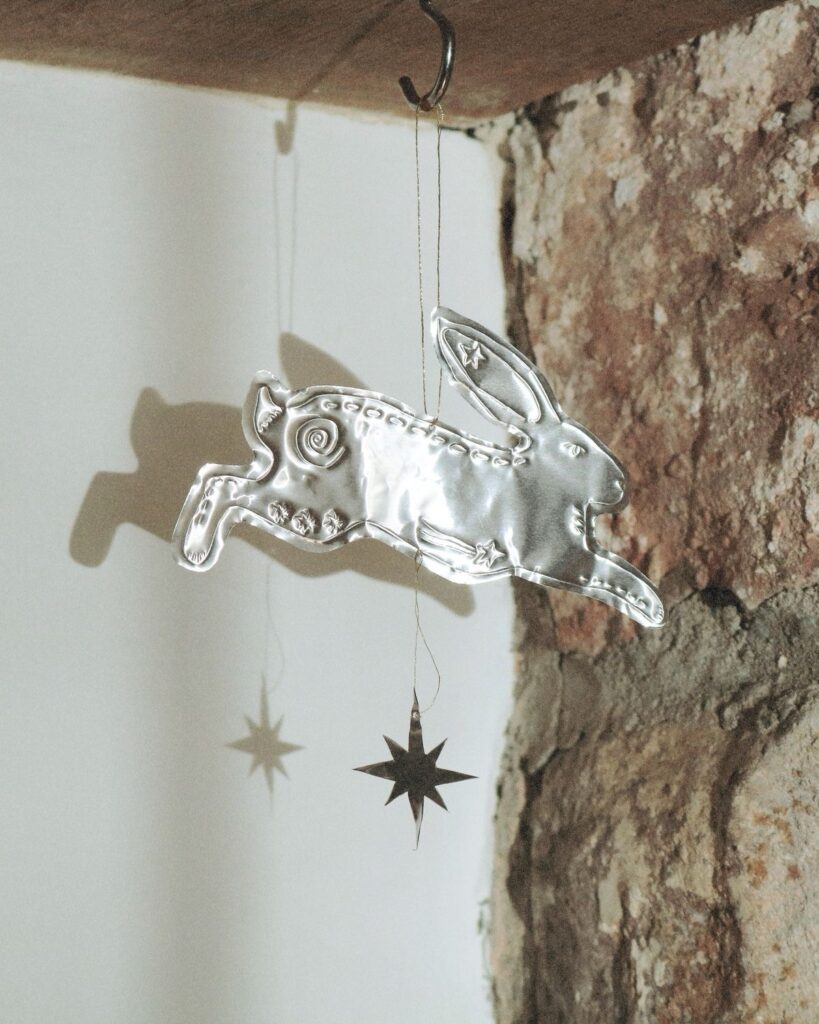
Folk rabbit embossed design
There’s something so sweet about creating your own home decor at home by hand. This folk art metal hanging ornament is so delightful to create this design. The same principles apply as in other designs. To cut your design, be careful to trace around the design with an exacto knife on a soft surface so you don’t damage or cause marks on your table or whatever other surface you’re using.
source of image
Blanket stitch embossing art
Did you know you could create metal crafts mixed with media metal crafts? If not, you’re not alone. This design features the use of blanket stitch around the metal. If you’re confused about how to do this, don’t worry, it’s easier than it looks. All you have to do is punch evenly spaced holes through the edge, thread yarn through the two holes, to create a blanket stitch, by bringing the needle through, and leave the fabric at the edge, forming evenly spaced decorative stitches.
source of image
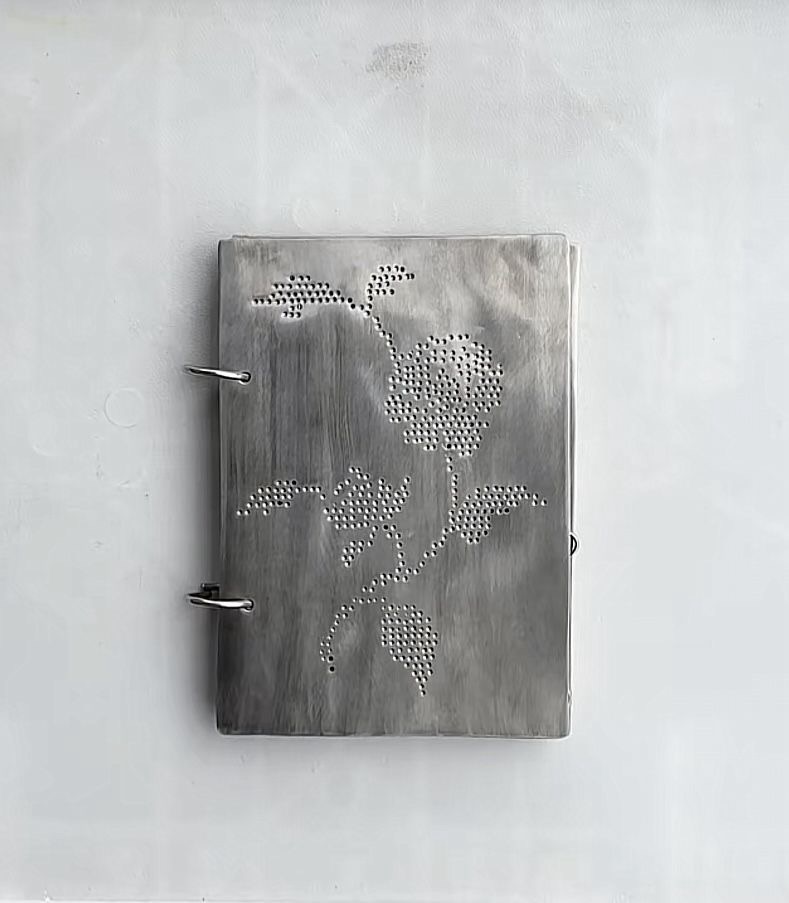
Metal embossed notebook
What you’ll need to recreate this design is a metal punch, nails, sandpaper, a hole puncher, and binder rings. Creating this design is simpler than it might appear.
Using a nail or embossing tool, add rounded dots to create a flower outline. Lightly sand with sandpaper to create a smooth finish. Trim the design to size and gently round the corners. If you’re finding this hard to do, don’t hesitate to use pliers to round the edges into place. Create two holes along the spine of the notebook and insert the binder rings.
source of image
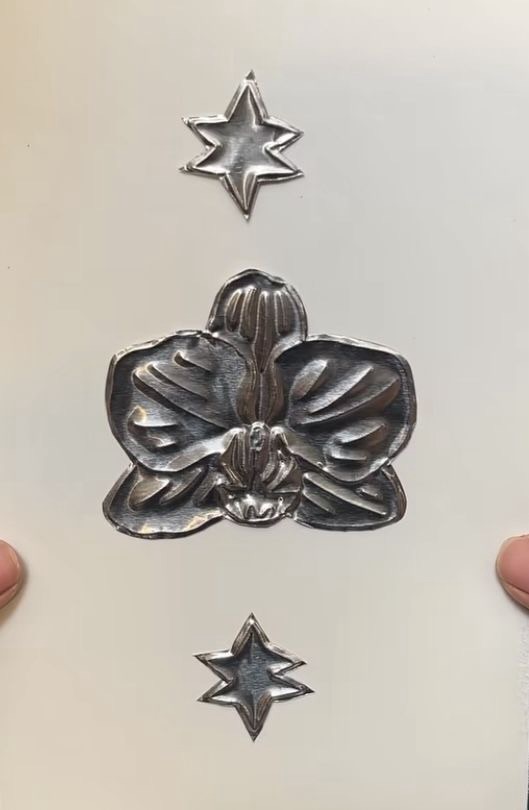
Embossed Orchid flower card
This design is giving whimsical fairy and tech bro, and I’m not mad. I mean, just look how cute it is.
To draw the orchid, draw a tiny circle in the middle and then add three big petals and two smaller petals. Add curved lines to the centre, and there you have a beautiful embossed orchid.
source of image
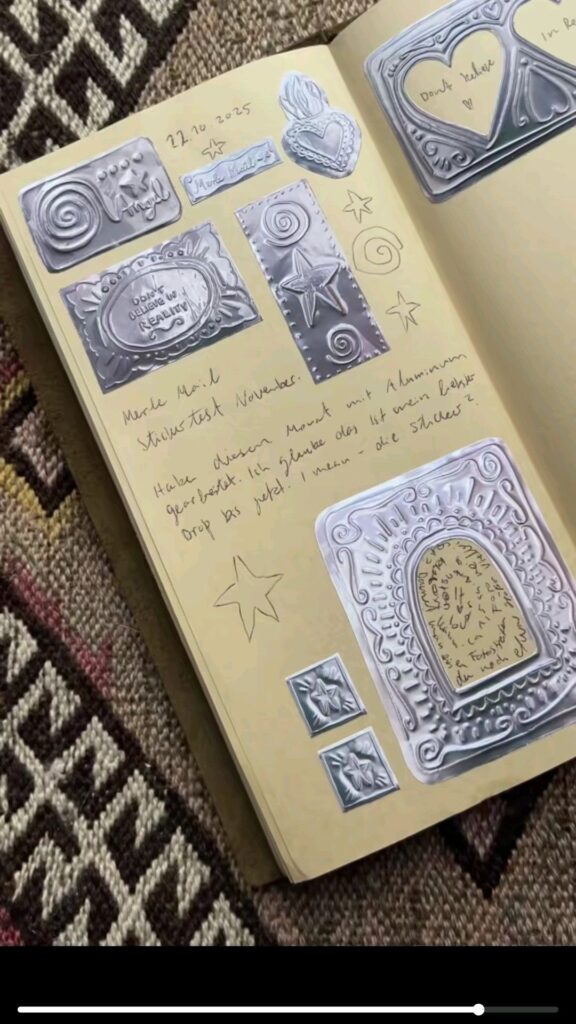
Embossed journal spread
Did you know you can also add embossing to spice up your junk journal?
Well, if not, now you do. All you need to create this is tin foil and double-sided tape. The possibilities are endless with embossed journaling. As displayed in this picture, you can create frames, stars, and even write your favourite quote.
source of image
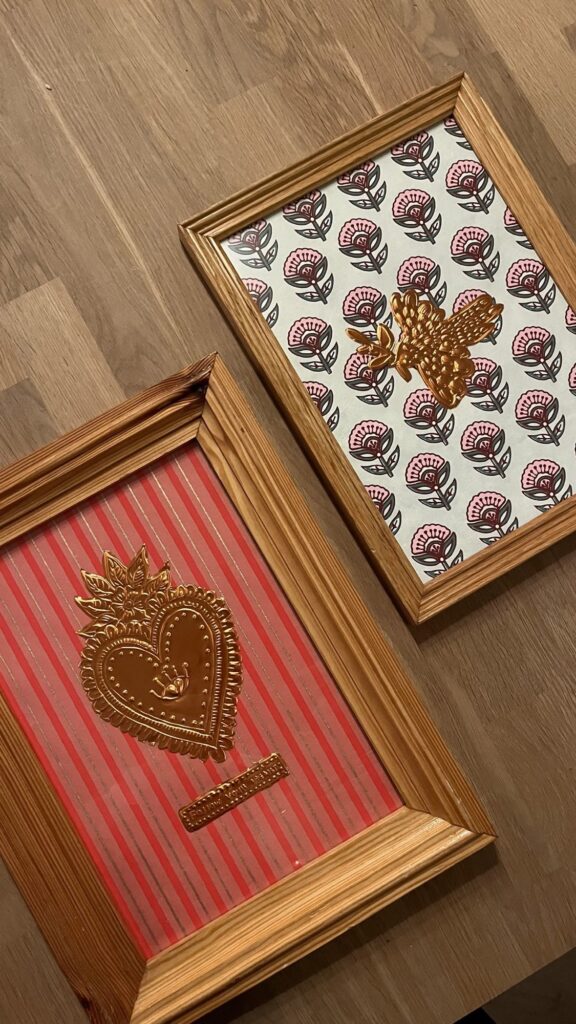
How to style your embossed designs using frames
A true work of art is not complete without a frame, so why not add a frame?
You’ll need craft paper or fabric, a frame that complements your artwork, double-sided tape, and patience.
Begin by cutting your craft paper or fabric to the size of the glass part of the frame. Add double-sided tape to secure your design, and there you go, you have the perfect frame design.
source of image
If you’ve made it this far in the age of ai where everything is created rapidately I really appreciate it
Happy crafting
–The 24 homemaker